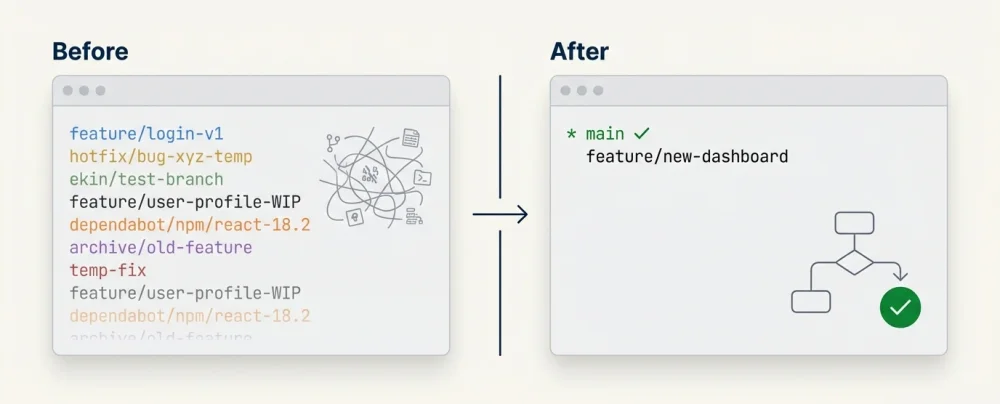
Keeping your repository clean is crucial for a healthy workflow. Old feature branches can pile up quickly, causing confusion and cluttering your terminal autocomplete. Whether you need to remove a merged branch locally, delete it from the remote server, or clean up ghost branches that others have already deleted, this guide covers the most efficient commands.
Here is the quick reference for the commands you likely need right now:
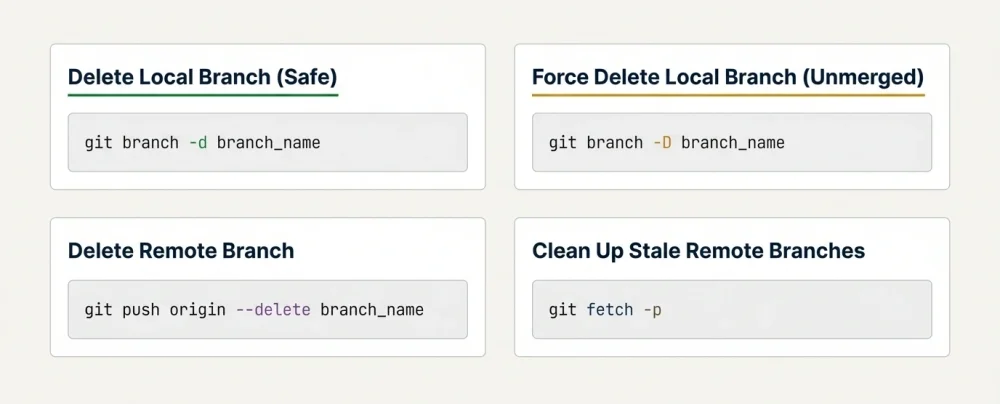
The Quick Commands
Delete Local Branch (Safe):
git branch -d branch_nameForce Delete Local Branch (Unmerged):
git branch -D branch_nameDelete Remote Branch:
git push origin --delete branch_nameClean Up Stale Remote Refs (Prune):
git fetch -p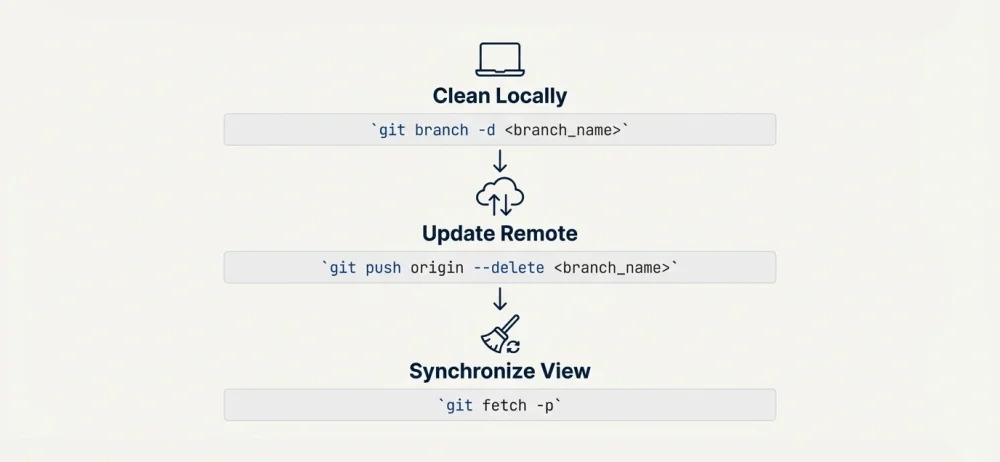
How to Delete a Local Branch
When you finish a task and merge your work, the local branch remains on your machine until you manually remove it. Git provides two ways to do this, depending on whether the changes have been fully merged.
Standard Deletion (Safe Mode)
The safest way to remove a branch is using the -d flag. Git will check if the branch has been merged into your current branch (usually main or master) before deleting it.
git branch -d feature/login-pageIf you try to delete a branch that contains unmerged changes, Git will stop you with an error message to prevent accidental data loss:
error: The branch 'feature/login-page' is not fully merged.
Force Deletion (Hard Mode)
If you are sure you want to delete the branch regardless of its status—for example, if you were experimenting and decided to scrap the work—you need to force the deletion.
You can use the uppercase -D flag, which is a shortcut for --delete --force.
git branch -D feature/experimental-ideaCritical Note: This action is permanent. Once forced deleted, recovering lost commits can be difficult and often requires digging into the git reflog. If you made a mistake in naming rather than content, you might want to check our guide on how to rename a git branch instead of deleting it.
Common Error: You cannot delete the branch you are currently checking out. If you see error: Cannot delete branch '...' checked out at '...', simply switch to another branch first:
git checkout main
git branch -d branch_to_delete
How to Delete a Remote Branch
Deleting the branch from your local machine does not remove it from the remote repository (like GitHub or GitLab). To delete the branch on the server so other team members know the work is finished, you use the push command with a delete flag.
git push origin --delete feature/login-pageOr the shorter syntax supported by newer Git versions:
git push origin :feature/login-pageThis command tells the remote server (origin) to remove the specified branch reference.
Cleaning Up Stale References (The Pruning Step)
This is the step most developers overlook. Even after you or a teammate deletes a branch from the remote server, your local Git configuration might still list it when you run git branch -r. These are called stale references.
To clean up your local list and synchronize it with the actual state of the remote repository, you need to use the prune command.
git fetch -por
git fetch --pruneRunning this regularly ensures that your autocomplete suggestions and branch lists remain accurate and clutter-free.
Bonus: How to Batch Delete Multiple Branches
If you have neglected branch maintenance for months, deleting them one by one can be tedious. You can use a combination of commands to delete multiple branches that have already been merged into your main branch.
Warning: Be very careful with bulk deletion scripts. Always verify what will be deleted first.
To delete all local branches that have been merged into main (excluding main itself):
git branch --merged main | grep -v "main" | xargs git branch -dThis command lists merged branches, filters out the main branch to protect it, and passes the rest to the delete command.



![The Most Cost-Effective AI Coding Agents in [year]: Claude, Cursor, Windsurf, or Antigravity?](https://www.devcrea.com/uploads/2025/12/cost-effective-ai-coding-agents-comparison-antigravity.webp)

Comments (0)
Sign in to comment
Report